Introduction
Creating your own website is not only enjoyable but also a great way to learn about programming. I’m excited to share an easy method to build a website on your Raspberry Pi using the Flask framework. This guide includes a ready-to-use website template that you can personalize to make your site shine.
Before We Begin
If you’re new to Flask, don’t worry. You can start by visiting Flask’s official website for tutorials (here, here, and here). They explain how to set up Flask on both Windows and Linux. I’ve personally used Visual Studio Code for Windows and Raspberry Pi Python for Linux, and both worked well for me.
Getting Started with the Template
I’ve put the entire website template on my public Github repository. You can simply copy it to your computer or Raspberry Pi. While I won’t explain every detail here, I’ve included a README file that walks you through running the code on your Raspberry Pi. Once it’s set up, just type “localhost:port” in your web browser to see your site. You can even access it from other devices if they’re on the same network as your Raspberry Pi.

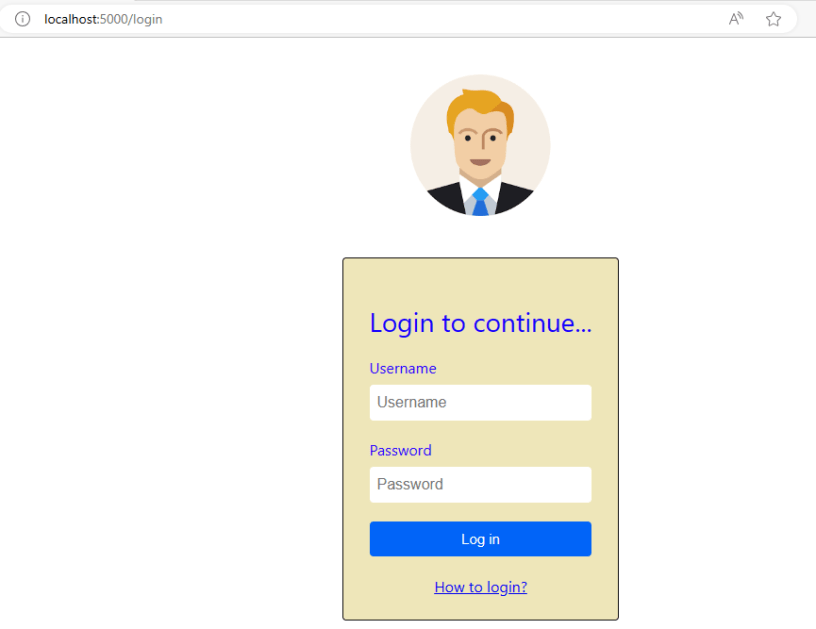
Exploring the Web Interface
Don’t worry if the source code looks a bit complex. It’s built according to Flask’s guidelines. Just explore and play around with it. You can make changes to the template to match your style. The website template is available here, and it’s the result of my own learning journey.
Conclusion
Building your website on a Raspberry Pi using Flask is both fun and educational. I hope this guide encourages you to dive into web development. If you’re curious, I’ll cover more topics like starting your web service on reboot and turning your Raspberry Pi into a WiFi hotspot in the future. If you have questions or want to share your progress, please leave a comment or reach out to me directly. Enjoy your web-building adventure!
